Living in a one-bedroom apartment in Manhattan, space is at a serious premium. And, with items arriving from our wedding registry seemingly every day, we needed to revisit our current layout and create more space. So, I decided it was time to put in the work and finally get the open shelving in my kitchen I’ve been lusting over for a few years now (and keeping very detailed Pinterest inspiration boards of for even longer!)
So, I started putting in the research. I knew that we wanted beautiful white open shelves that were sturdy enough to hold our new bowls, wine glasses and glasses and easy to install. I know, this sounds like a lofty request, but then we found High & Mighty’s floating shelves and our wish was fulfilled!

We chose High & Mighty for a few different reasons. Firstly, their shelves are beautiful and completely achieve the aesthetic we are going for — elegant white open shelves that simultaneously add an elegant look while adding tons of storage space. Secondly, they are super sturdy — we used their 36 inch shelves in our kitchen, and they hold up to 25 pounds each, which was a lot more than many of the competitors we looked at could support. Ease of use was also a big factor for us, but we’ll get to that in a moment.
We ordered four shelves for the open kitchen and another three for our bathroom to create the perfect product “shelfie” moment. For the bathroom, we chose their 24” white floating shelves .

Then we set about installing the shelves, which is something that normally terrifies me. Seriously, I don’t even know how to properly use a hammer. But luckily, hardly any tools or technical knowledge is required to hang a High & Mighty shelf. We referred to this handy instructional video on their site before getting started and pretty much followed it to a T.
Basically, installing these shelves is as easy as peeling an adhesive and sticking it to your wall by following the directions of their handy little level, pushing brackets on either end of the sticky tape and then snapping the shelf into the brackets. Yes, it’s really that easy and it requires no tools, no clean up, no nothing. We literally had the first shelf up within five minutes of watching the video. Within an hour of watching the video, all seven shelves were hung and I had begun styling them. Easy, peasy.
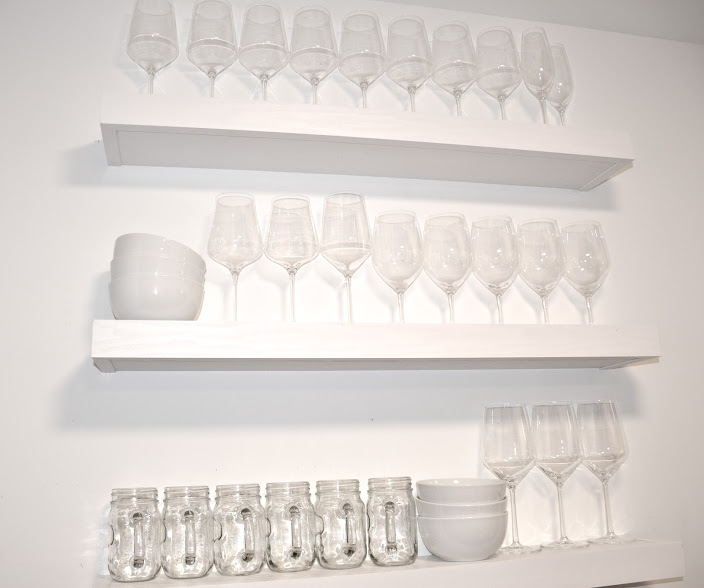
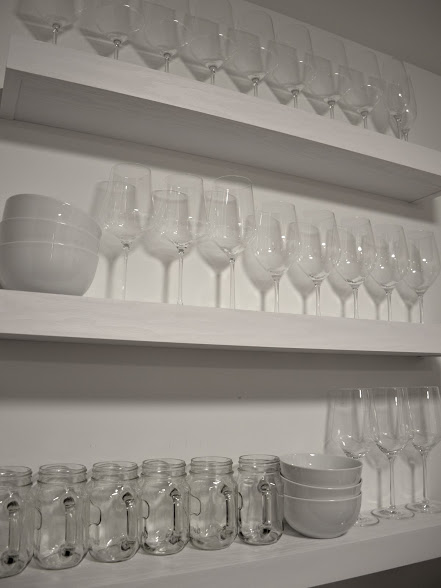
Next, came time to style the shelves. My main goals were to clean up the kitchen and my counters which had items on them that didn’t fit in our cabinets while creating a cohesive color scheme and stylized look. Basically, I wanted the shelves to be equal parts functional and beautiful. For the kitchen, I decided to use the shelves to showcase some of our beautiful wedding gifts. I kept the contents restricted to clear glass and white ceramic, since the open shelves I’ve pinned for so long typically had a theme and color scheme. I also think that white and glass open up the apartment and add light.
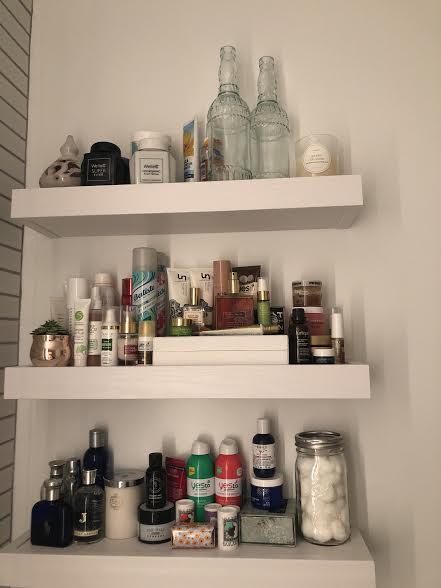
For the bathroom, I wanted to achieve the same goal. We have VERY little counter and cabinet space in our small bathroom, so these three shelves were a God send. To style them, I completely cleared out our cabinets and counter and picked all of my most beautiful beauty and skin products to showcase. I arranged them in varying heights and colors in order to create the ultimate bathroom shelfie, which has become very popular among beauty bloggers. This allowed up to keep our sink counters clear (Hallelujah!) and also declutter our small cabinet. The result is that all of our product is easy to find and the selves actually look beautiful. In addition to the beauty products, French soaps and foreign beauty finds, I added some of our favorite candles to the shelves.
All in all, we are so pleased with our new shelves. We absolutely love how easy to install they were and how they added loads of space to our small Manhattan apartment!
Favorite Decorating Trend: Metallic Succulent Pots
Best of Home: Ziporah Towels
Best of Home: Gold Flatware
Best of Home: Rust Designs
Best of Home: Ovando Candles
Best of Home: Simple Human
